Insemination Kit: Basics You Need
An Insemination Kit lets you place sperm near your cervix at home. Here’s how it works. You skip the clinic yet still follow a safe process. With clear steps and basic tools, you can take charge of timing and comfort.
 What Is an Insemination Kit?
An Insemination Kit contains the core items for a home insemination:
A needle‑free syringe (3 mL or 5 mL) to draw and release sperm
A sterile specimen cup to collect the sample
These two tools form the heart of your kit. They let you insert sperm close to the egg without needing special medical training.
Key Benefits of an Insemination Kit
Using an Insemination Kit offers:
Privacy: You choose when and where it happens.
Cost Savings: Core supplies often total under $30, not hundreds in clinic fees.
Flexibility: You work around your schedule, not clinic hours.
These benefits help reduce stress. Comfort and control can improve your experience.
Optional Supplies to Enhance Your Kit
Beyond syringes and cups, you may add:
Menstrual Cup or Disc: Keeps fluid in place for 15–20 minutes.
Ovulation & Pregnancy Test Strips: Pinpoint your fertile window and confirm success.
Fertility‑Friendly Lubricant: Brands like Pre‑Seed support sperm health.
Add what you need and skip extras you don’t.
How to Use Your Insemination Kit
Follow these steps for best results:
Track Ovulation: Use test strips or mucus signs to find your fertile days.
Collect Sample: Have your partner or donor ejaculate into the cup.
Load Syringe: Draw in sperm, leaving air bubbles behind.
Insert Gently: Lie back with hips raised on a pillow and place the syringe tip just inside your vagina.
Release & Rest: Push plunger slowly, then lie still for 15–20 minutes.
Repeat on a second day of your fertile window for higher odds.
Safety Tips for Your Insemination Kit

Use only single‑use supplies to avoid infection.
Wash hands and clean surfaces with mild soap before you start.
Check expiration dates on test strips and lubricant.
A sterile setup keeps you safe. Clear steps give you confidence.
By learning the basics of an Insemination Kit, you gain privacy, savings, and control. Armed with simple tools and a clear process, you can conduct safe home insemination and stay focused on your goal.
Components & Kit Options
A good Insemination Kit has more than just a syringe and cup. Here’s how it works. Knowing your options helps you pick a kit that fits your needs and budget.
Essential Core Supplies
Every kit needs these basics:
Needle‑Free Syringe
Use a 3 mL or 5 mL plastic syringe without a needle.
Check that the plunger moves smoothly.
Single‑use only to keep everything sterile.
Sterile Specimen Cup
Collect sperm in a small, clear cup with a tight lid.
Ensure the cup is marked sterile.
Discard the cup after one use to avoid contamination.
Optional Supplies to Enhance Comfort
Beyond the basics, these items can improve your experience:
Menstrual Cup or Disc
Helps hold the sample near your cervix for longer.
Insert gently after insemination and leave in for 15–20 minutes.
Ovulation & Pregnancy Test Strips
Ovulation strips show your LH surge before you ovulate.
Pregnancy strips confirm a positive result after a missed period.
Buy packs of 10–20 for good coverage.
Fertility‑Friendly Lubricant
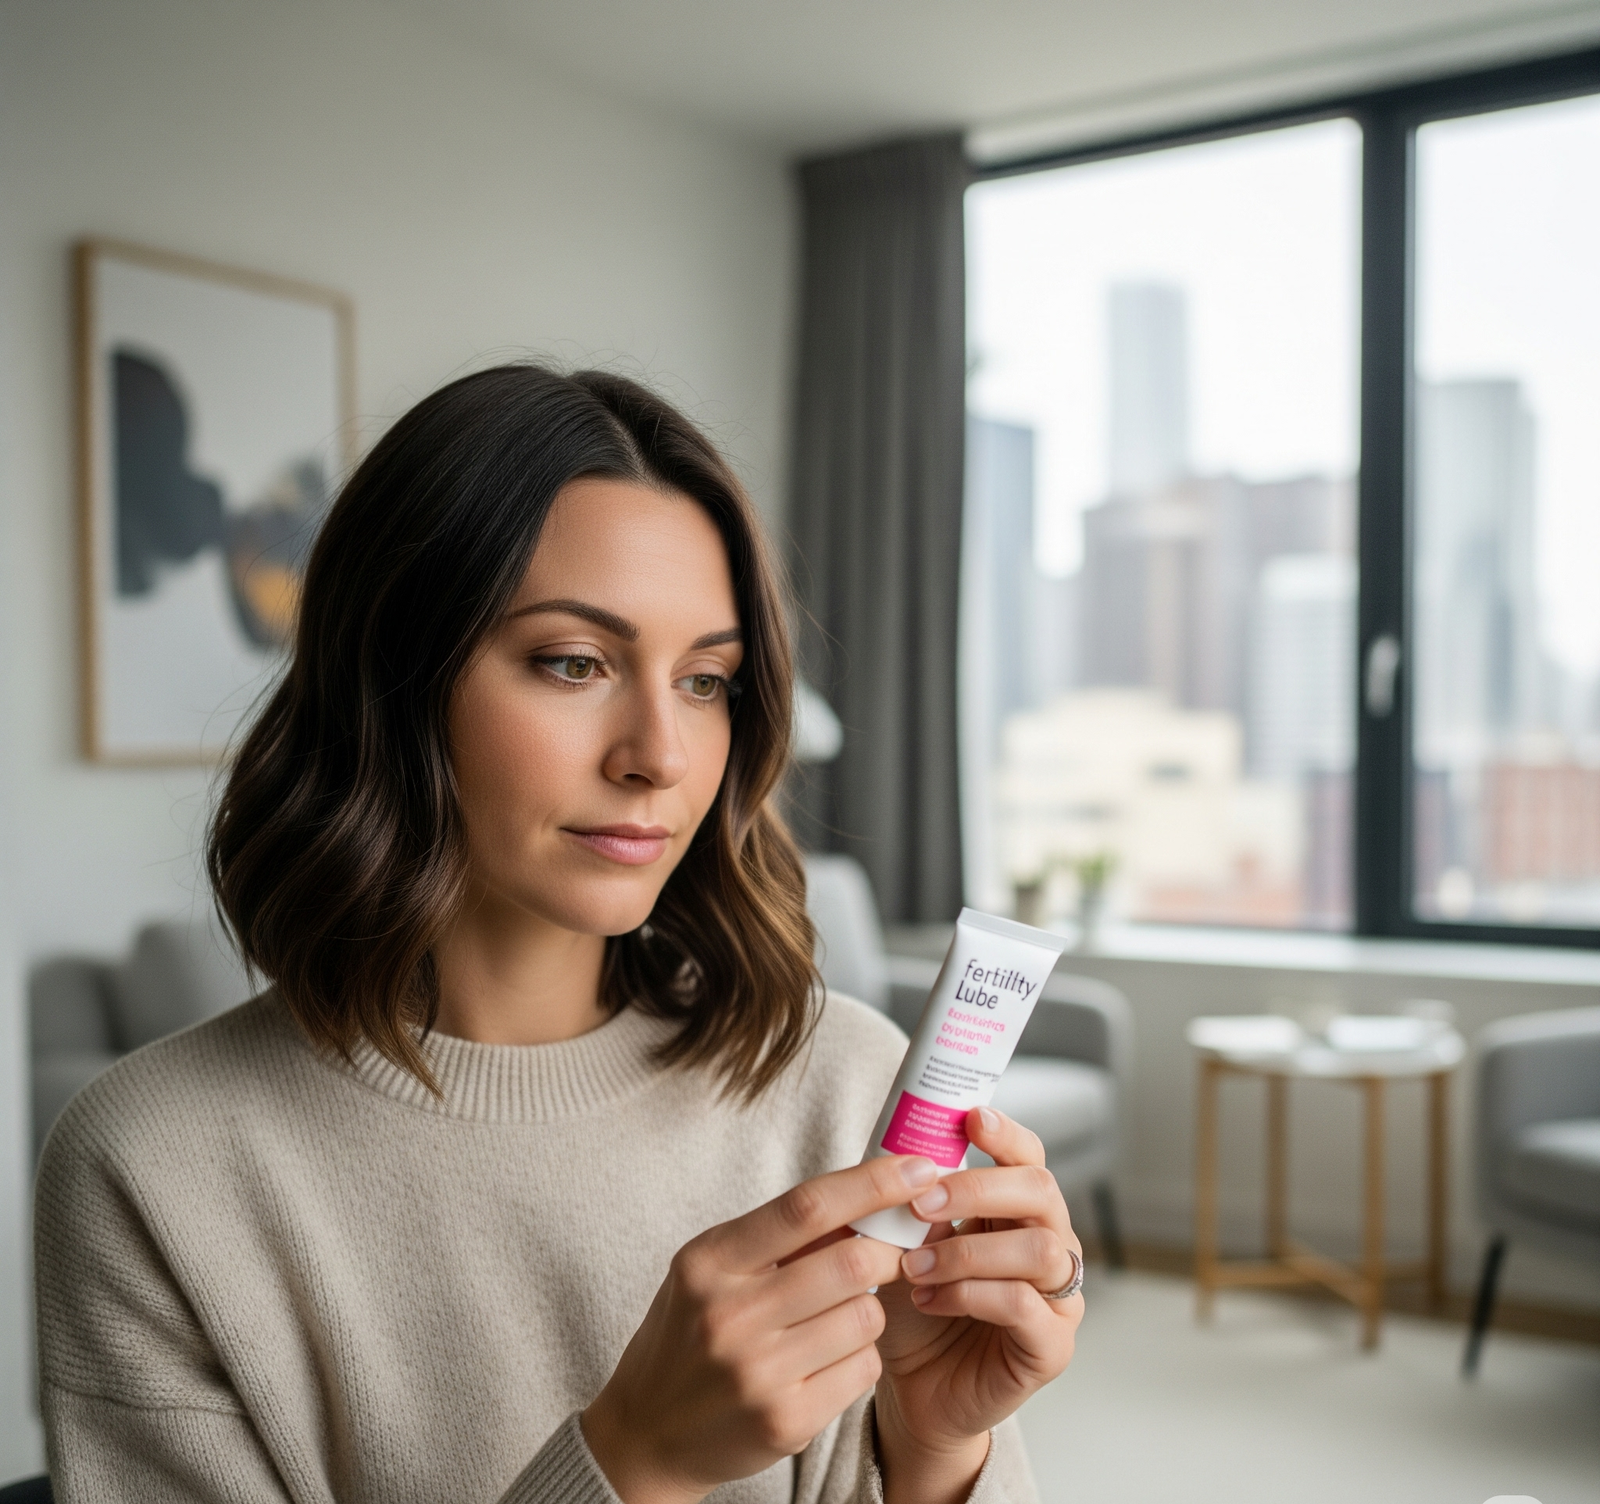
Regular lubes can harm sperm.
Brands like Pre‑Seed support sperm health.
Apply a pea‑size amount at the vaginal opening.
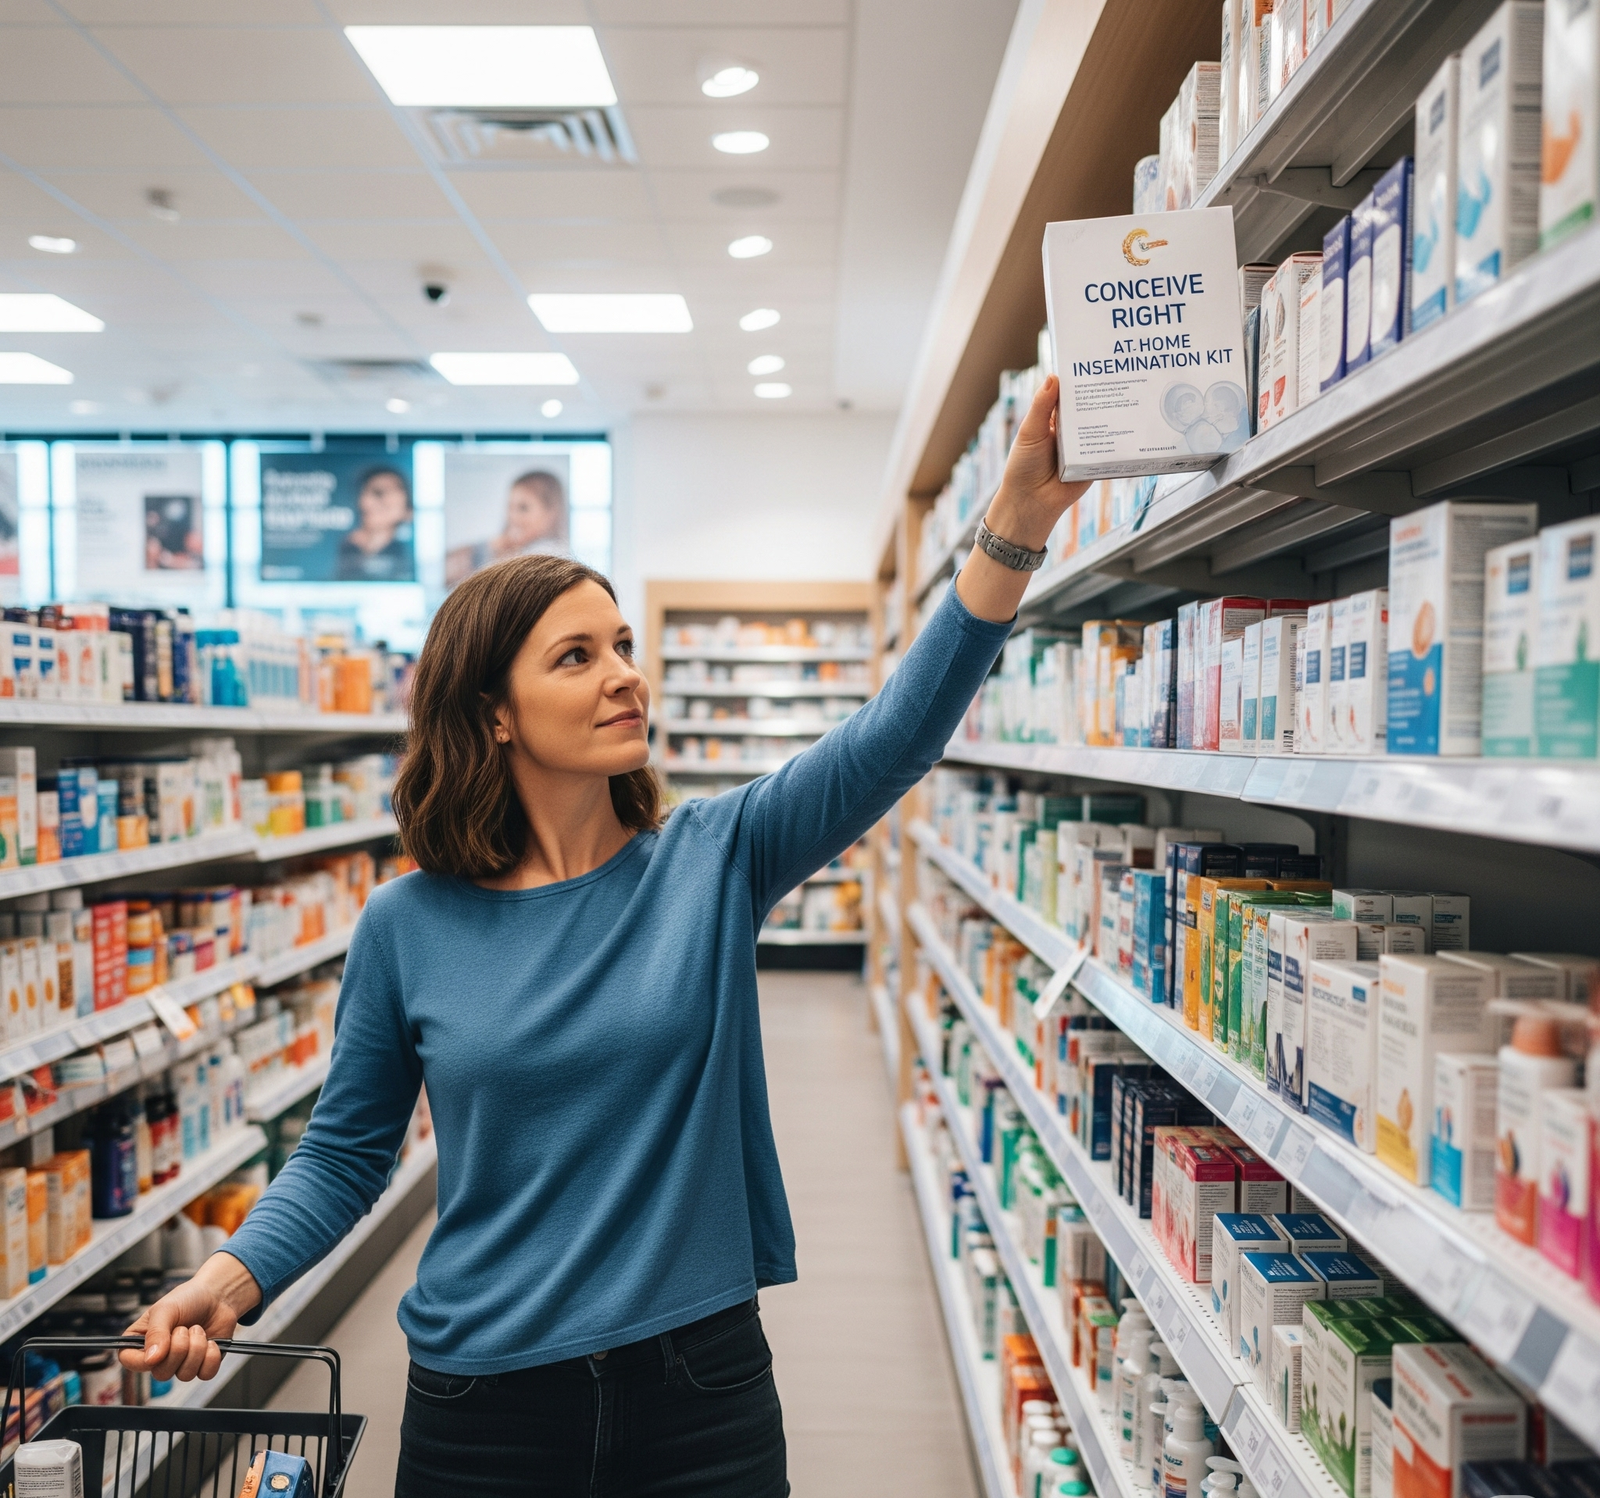
Ready‑Made Kits vs. DIY Assembly
You can buy a full kit or gather items on your own:
Ready‑Made Kits
Come with all core and optional supplies in one box.
Often include an instruction guide or video link.
Cost $40–$80, depending on brand and extras.
DIY Assembly
Buy a syringe and cups at a pharmacy ($15–$25 total).
Add test strips and lubricant for another $10–$20.
Total cost $25–$45, plus time to shop.
Cost Breakdown & Savings Tips
Knowing cost ranges helps you stay on budget:
Core Supplies: $15–$25 for syringe and cups.
Optional Items:
Test strips: $5–$15 per pack
Menstrual cup: $10–$20
Lubricant: $10–$15
Total Kit Cost: $25–$80 based on how many extras you include.
To save money, compare prices online and look for small bulk discounts.
Storage & Preparation Tips
Keep your kit ready with these steps:
Store everything in a clean, cool, dry spot.
Check expiration dates on all items before use.
Lay out your supplies before your fertile window begins.
Wipe down your workspace with mild, unscented soap.
By understanding the core and optional components of an Insemination Kit, you can build a set that works for you. Whether you choose a ready‑made option or assemble your own, focus on sterility, comfort, and clear instructions to guide you through each step.
Section 3: Research on Insemination Kits
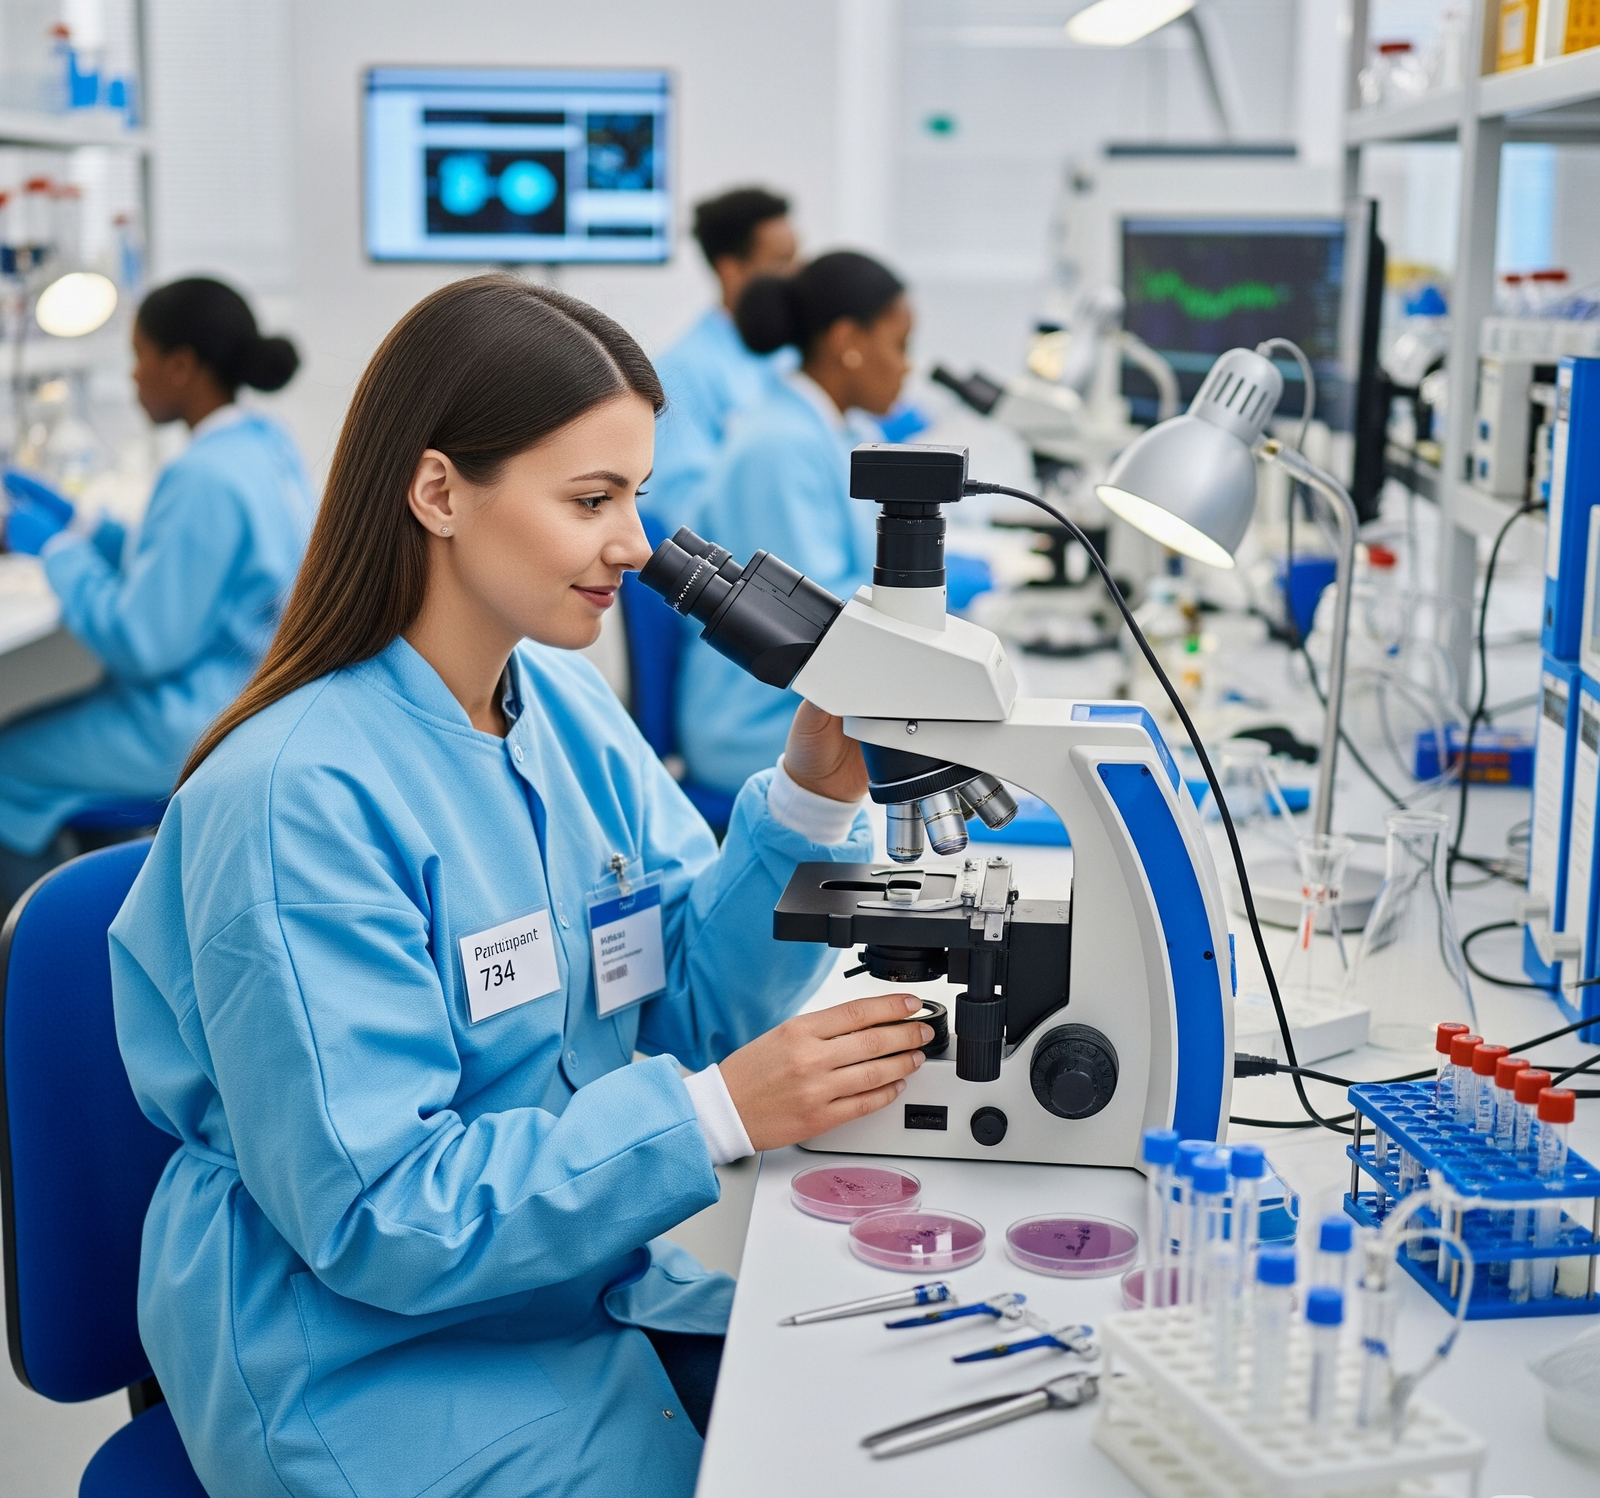
Knowing the facts behind various insemination kits can help you choose wisely. Here’s what key studies reveal.
Home vs. Clinic Success
A randomized trial of 53 women compared six home insemination cycles to six clinic‑based IUI cycles using thawed donor sperm. After six tries, 13 of 29 women in the home group and 11 of 24 in the clinic group achieved pregnancy. A crossover phase confirmed similar rates. This shows that, with proper timing and clean tools, home use can match clinic results. Read the study: PubMed: Home vs. Clinic Study
Patient Comfort & Acceptance
An early report in the British Medical Journal looked at adding home donor insemination to existing programs. Although no abstract is available, authors noted high patient comfort and ease of use. Participants appreciated the privacy and control that home kits offered, making them a popular choice. See details: PubMed: Feasibility Report
Success in Special Cases
Some couples face barriers such as vaginismus or erectile dysfunction. In a study of 55 such couples, home intravaginal insemination with donor sperm led to 69% pregnancy in ages 20–33, 43% in ages 33–36, and 25% in women over 36 after six cycles. These high rates demonstrate that insemination kits can work well even in challenging situations. Learn more: PubMed: Special Cases Study
Key Takeaways from the Research
Home insemination kits can achieve pregnancy rates comparable to clinic IUI when used correctly.
Privacy, comfort, and control drive high patient acceptance.
Insemination kits are effective even for couples with certain sexual or medical challenges.
Success hinges on accurate timing, sterile tools, and clear steps.
This body of research supports the use of well‑prepared insemination kits at home. Armed with these findings, you can select a kit that meets quality standards and follow proven methods to boost your chances of success.
Using Your Insemination Kit & Next Steps
Once you have your kit, clear steps and care will boost your chance of success.
Timing Your Insemination
Check your ovulation strips each morning.
Schedule your first insemination within 12–24 hours of a positive LH result.
Repeat 24 hours later to cover your peak fertile window.
Step‑by‑Step Insemination
Wash hands and clean a flat surface with mild soap.
Collect sperm in the sterile specimen cup.
Draw the sample into the syringe, leaving air bubbles behind.
Lie back with a pillow under your hips.
Insert the syringe tip just inside your vagina.
Push the plunger slowly to release the sperm.
Stay reclined for 15–20 minutes or insert a menstrual cup.
Troubleshooting & Safety Tips
Low Sample Volume: Ask your donor for a larger collection cup or gentle stimulation.
Insertion Difficulty: Apply a small drop of fertility‑friendly lubricant to the syringe tip.
Timing Confusion: Track both test strips and cervical mucus to confirm ovulation.
Always use single‑use, sterile syringes and cups.
Discard all supplies after each cycle to prevent infection.
Aftercare & Follow‑Up
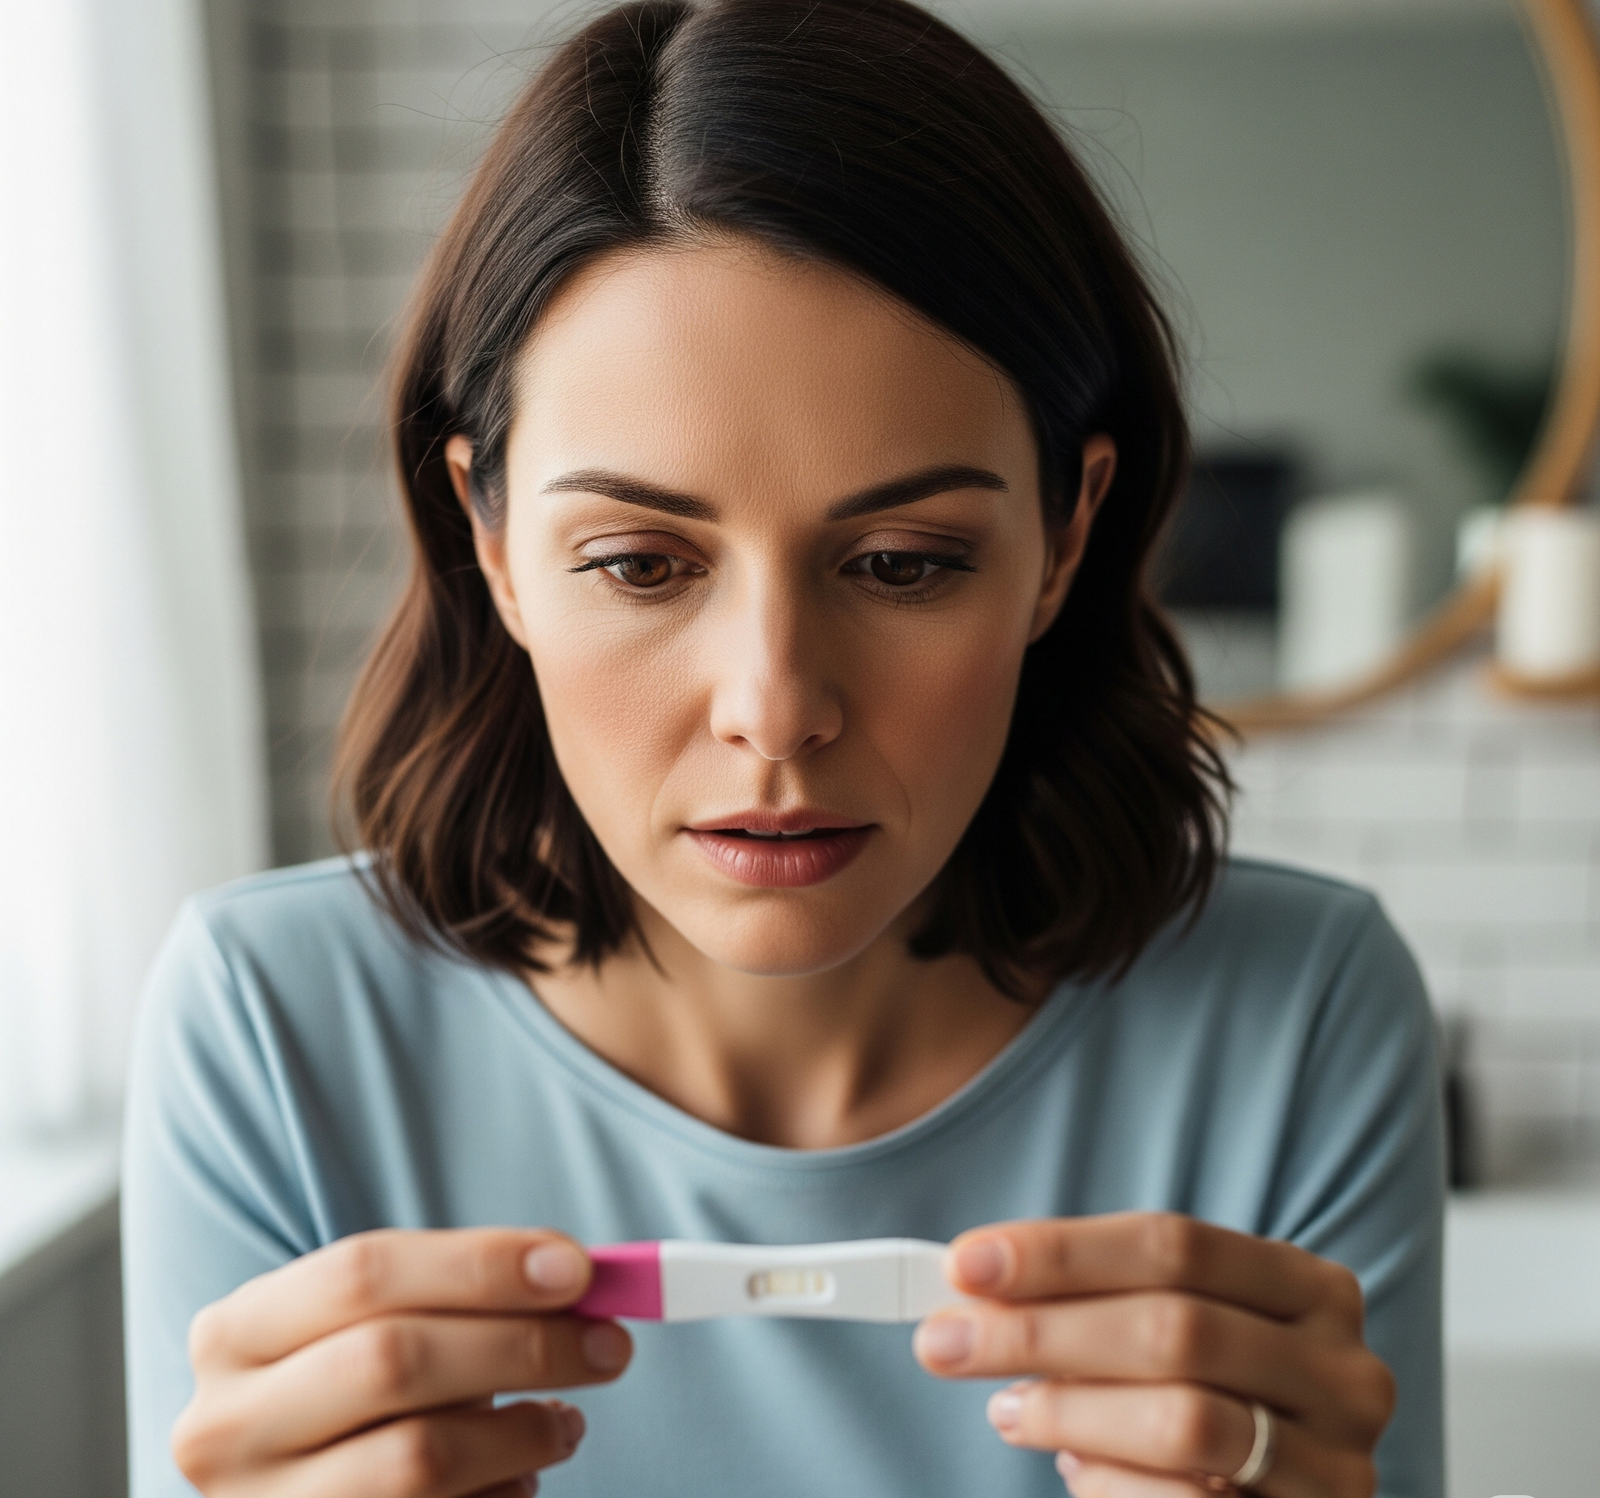
Check for mild cramping or spotting—these are normal.
Test for pregnancy 10–14 days after insemination.
If you miss your period, use a pregnancy strip first thing in the morning.
If you do not conceive after three cycles, consider a medical evaluation.
Frequently Asked Questions
How many kits do I need per cycle?
One kit is enough—discard supplies after use.Can I use frozen sperm at home?
Yes. Follow thawing guidelines and inseminate within 30 minutes.Is occasional mild cramping normal?
Yes. Light cramps can occur during or after insemination.What if I don’t conceive after three tries?
See a doctor for a fertility work‑up or consider clinic‑based IUI.Do I need a prescription for any supplies?
No. Syringes, cups, and fertility lubricant are over‑the‑counter items.Can I inseminate more than twice in one window?
You can, but two attempts in your peak days often suffice.Where can I buy reliable kits?
Look for fertility‑supply stores online or assemble your own from trusted pharmacies.