
Artificial Insemination at Home: Basics and Benefits
Artificial insemination at home lets you get pregnant by placing sperm near your cervix in a private setting. Here’s how it works. With clear steps and simple tools, you can avoid clinic visits and still follow a safe process.
 What Is Artificial Insemination at Home?
Artificial insemination at home means you use a syringe (no needle) and sterile cup to insert sperm into your vagina. You time it around ovulation to boost your chance of pregnancy. The basic steps are:
Track your cycle to find fertile days.
Collect sperm in a sterile cup.
Draw the sample into a syringe, leaving out air.
Insert the syringe tip near your cervix and release the sperm.
Lie back for 15–20 minutes or insert a menstrual cup to hold the fluid in place.
Who Can Try Artificial Insemination at Home?

This method suits many women and couples, including:
Single women without a partner
Same‑sex couples using donor sperm
Couples facing mild male‑factor infertility
Women who prefer privacy over clinic visits
You don’t need a medical degree—but you do need clear instructions and clean tools.
Key Benefits of Artificial Insemination at Home
Privacy and Comfort: You work on your own schedule in a place you know.
Lower Cost: Supplies often total under $50, while a single clinic cycle can cost $300 or more.
Control Over Timing: You decide when to act, based on ovulation test results.
Reduced Stress: No waiting rooms or appointment anxiety can help you relax, which may support better results.
Safety and Tool Checklist
To stay safe, use only sterile, single‑use items. Your supplies should include:
A 3 mL or 5 mL needle‑free syringe
Sterile specimen cups with lids
Fertility‑friendly lubricant
A menstrual cup or disc (optional)
Ovulation predictor kits or strips
Wash your hands and clean your workspace before each step. Discard the syringe and cups after use.
Tools & Supplies for Artificial Insemination at Home
To do artificial insemination at home, you need a few key items. Having the right tools makes the process smooth and safe.
Essential Kit Components
Basic home insemination supplies should include:
Syringes & Specimen Cups
Use a 3 mL or 5 mL plastic, needle‑free syringe.
Make sure the tip is smooth and the plunger moves easily.
Collect the sperm sample in a sterile specimen cup with a tight lid.
Fertility‑Friendly Lubricant
Choose a brand labeled “fertility‑friendly,” like Pre‑Seed.
Regular lubricants can harm sperm.
Apply a small, pea‑size amount at the vaginal opening for comfort.
Menstrual Cup or Disc
Helps keep sperm near the cervix after insemination.
Pick a soft silicone cup or disc that fits you well.
Insert right after you release the sperm and leave in for 15–20 minutes.
Ovulation & Pregnancy Test Strips
Ovulation kits detect your LH surge before you ovulate.
Test at the same time each day for clear results.
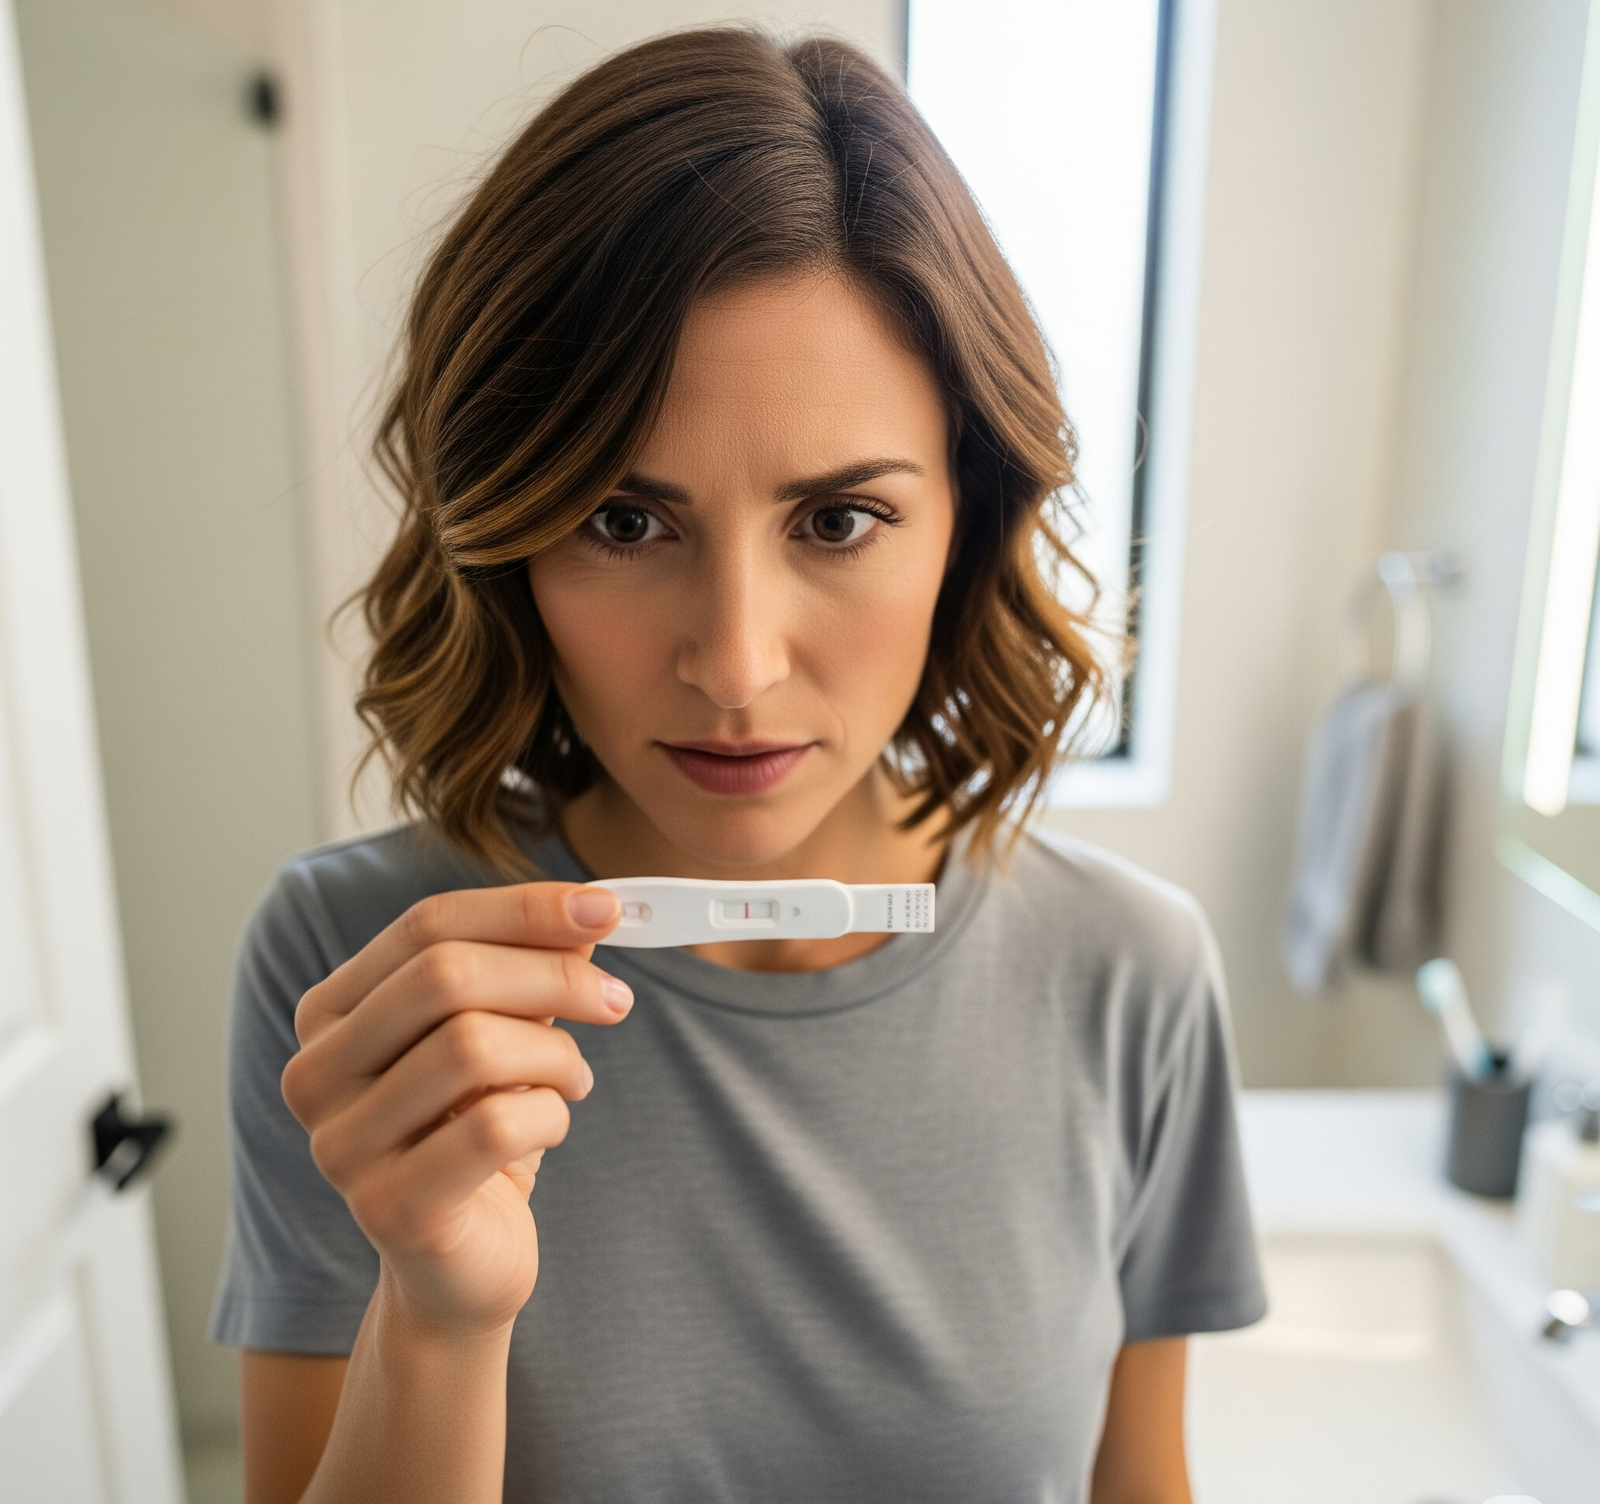
After your missed period, use a pregnancy test strip to confirm.
Preparing Your Space
Set up a clean, calm area before you start:
Wipe down a flat surface with mild, unscented soap.
Lay out a clean towel or disposable paper under your supplies.
Have warm water and mild soap handy for washing hands.
Keep a trash bag nearby for used items.
Optional Extras That Can Help
These items can make your process smoother or more precise:
Warming Pad: Placing sample cups on a low‑heat pad can keep sperm at body temperature.
pH Strips: Test cervical fluid pH to rule out a hostile environment for sperm.
Disposable Gloves: Prevents oils or dirt from your hands affecting the sample.
Timer or Clock: Helps you track the 15–20 minute retention period.
DIY vs. Ready‑Made Kits
You can buy a pre‑assembled kit or create your own:
Ready‑Made Kits
All supplies come in one box.
Often include instructions or video guides.
DIY Assembly
Purchase each item separately to save money.
Compare prices at pharmacies and online stores.
Whether you choose a ready‑made set or build your own, focus on quality and sterility. Check expiration dates on test strips and lubricants. Store all parts in a cool, dry place. With your tools and space ready, you’ll be set for a smooth artificial insemination at home.
Research on Home Artificial Insemination
 Knowing the facts behind home artificial insemination can boost your confidence. Studies show that with the right tools and timing, home methods can match clinic results. Here’s what the data says.
Home vs. Clinic Success Rates
Researchers ran a randomized trial comparing six cycles of home insemination to six clinic IUI cycles using thawed donor sperm. They enrolled 53 women with primary infertility. After six cycles, 13 of 29 women in the home group were pregnant, versus 11 of 24 in the clinic group. A crossover phase confirmed similar success rates. This suggests that, when done correctly, home insemination can be as effective as clinic IUI. Read the full trial: PubMed: Home vs. Clinic Study.
Feasibility and Patient Acceptance
An early report in the British Medical Journal examined how home donor insemination fit into existing programs. Although the abstract is not available, the study noted that women found home insemination practical and comfortable. Participants valued the privacy and control. This early work laid the groundwork for today’s home‑insemination kits by showing strong patient acceptance. See the report: PubMed: Feasibility Report.
Outcomes in Special Cases
Some couples face barriers like vaginismus or erectile dysfunction. A study of 55 such couples used home intravaginal insemination with donor sperm. Women aged 20–33 achieved a 69% pregnancy rate over six cycles. Those aged 33–36 saw 43%, and women over 36 had 25% success. These high rates show that even in challenging situations, home insemination kits can work well. Learn more: PubMed: Special Cases Study.
Key Takeaways
Home insemination can match clinic success when you follow clear steps.
Privacy and ease boost patient comfort and acceptance.
Home kits work for a wide range of women, including those with special needs.
Proper timing, clean tools, and simple tracking are essential.
Use these findings to guide your choice of a home artificial insemination kit. With solid research behind you, you can move forward with clear steps, safe tools, and confidence in your process.
Using Your Home Artificial Insemination Kit

Once your kit is ready, follow these clear steps and tips to boost your success at home.
Timing and Setup
Use ovulation strips each morning to spot your LH surge.
Prepare a clean, calm space: wipe surfaces, lay a towel, and gather supplies.
Have a clock or timer nearby to track retention time.
Step‑by‑Step Insemination
Collect the Sample
Have your donor or partner ejaculate into the sterile cup.
Load the Syringe
Draw the sample into the syringe, leaving out air bubbles.
Position Yourself
Lie back with a pillow under your hips.
Insert and Release
Gently insert the syringe tip just inside the vagina.
Slowly push the plunger to release the sperm.
Retain the Sample
Remain reclined for 15–20 minutes.
Optionally insert a menstrual cup to hold fluid in place.
Troubleshooting & Safety Tips
Low Sample Volume: Ask your donor to use gentle stimulation or a larger collection cup.
Insertion Issues: Apply a pea‑size amount of fertility‑friendly lubricant to the syringe tip.
Irregular Ovulation Signals: Track mucus quality along with test strips for clearer signs.
Always use single‑use, sterile tools and discard them after each cycle.
Wash hands and clean your workspace before and after each step.
Legal & Ethical Considerations
Even with a friend donor, use a simple written agreement to clarify intentions and rights.
If you pay for donor services, check local laws—many areas prohibit charging for sperm.
Consult a lawyer or use free templates online to ensure your agreement is sound.
Frequently Asked Questions
How many kits do I need per cycle?
One kit per cycle is enough—discard all parts after use.Can I use frozen sperm at home?
Yes, but follow thawing guidelines and inseminate within 30 minutes.Is it normal to feel mild cramping?
Yes. Light cramps can occur as the syringe tip passes the vaginal opening.What if I don’t get pregnant after 3 cycles?
Consider a medical evaluation or switch to clinic‑based IUI.Can I inseminate more than once per cycle?
You can try twice in your fertile window, but space them at least 24 hours apart.Where can I buy the best home insemination kit?
Look for reputable fertility‑supply stores online or assemble your own high‑quality kit.Do I need a doctor’s prescription?
No prescription is needed for syringes, cups, or fertility lubricants in most areas.How soon after ovulation should I inseminate?
Aim within 12–24 hours of your LH surge for peak timing.